Good food, close to home

Discover farm shops, butchers, bakeries & every other local food producer near you.

Showing sample listings.
Farm shops
Butchers
Fishmongers
Bakeries
Breweries
Greengrocers
Cheesemongers
Chocolate & sweets
Distilleries
Vineyards
Coffee
All

Know a hidden gem?

Tell us about an independent producer you love. If we love them too, we'll feature them as a myfoody pick.

Showing sample listings

6 found
The Master Butcher
Butcher
High Street, Shrewsbury, SY1 1ST
1 myfoody review
Hillside Farm Shop
Farm shop
Church Lane, Ludlow, SY8 1AW
2 myfoody reviews
Harbour Fish Co.
Fishmonger
Quayside Market, Whitby, YO21 3PU
Grain & Loaf Bakery
Bakery
Market Square, Hereford, HR4 9HU
1 myfoody review
Wye Valley Brewery
Brewery
Stoke Lacy, Bromyard, HR7 4HG
Shropshire Larder
Farm shop
A49, Craven Arms, SY7 9QJ

Interactive map

Loading the map uses Google Maps, which sets cookies for that service. Click below to load it — we’ll remember your choice so the map auto-loads next time. See the privacy policy for details.

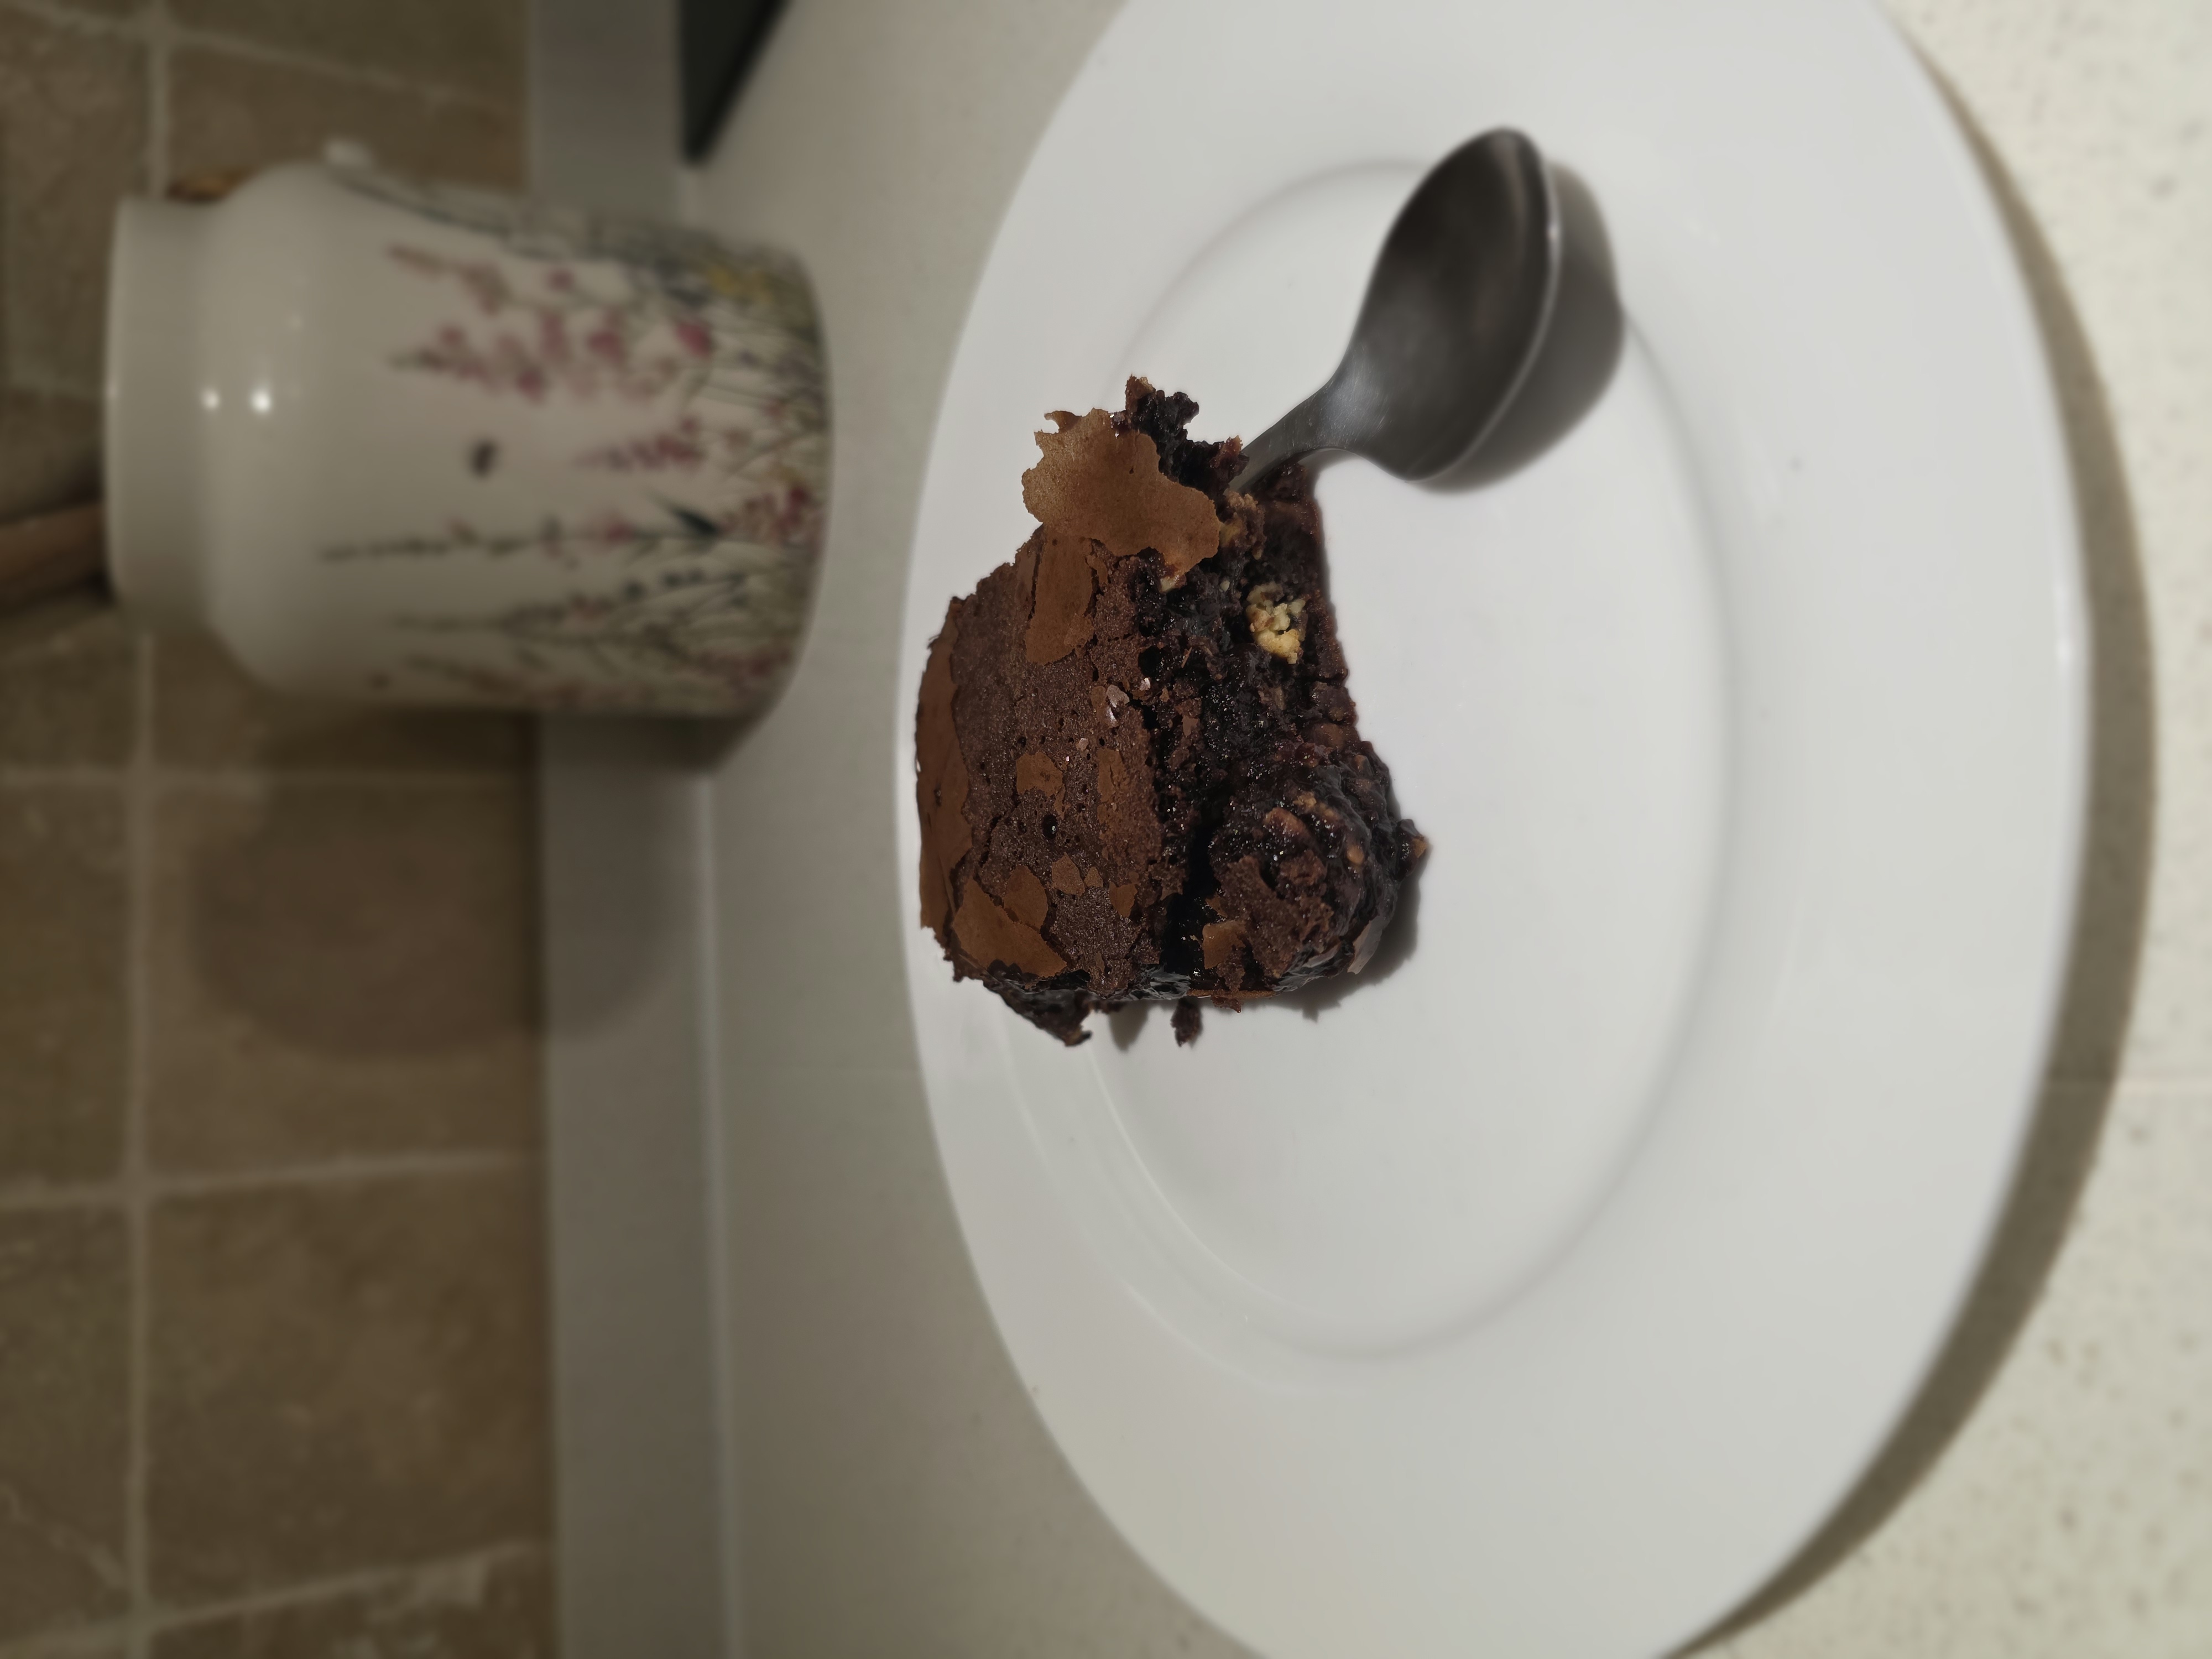
Gooey Chocolate Orange Brownie

My signature pud thats been honed over the years of putting my leftover easter eggs to good use. Can easily skip the orange and make it just a classic one. Most importantly its fudged, gooey and definitely not cakey.

Ingredients

  • 185g salted butter
  • 60g dark chocolate
  • 125g milk chocolate
  • 85g plain flour
  • 40g cocoa powder
  • 50g white chocolate
  • 100g milk chocolate (usually from leftover Easter eggs in my house)
  • 3 large eggs
  • 275g light brown soft sugar

Method

  1. Cut 185g salted butter into cubes and tip into a medium bowl. Break 60g dark chocolate and 125g milk chocolate into small pieces and put into the bowl.
  2. Fill a small saucepan about a quarter full with hot water, then sit the bowl on top so it rests on the rim of the pan, not touching the water. Put over a low heat until the butter and chocolate have melted, stirring occasionally to mix them.
  3. Remove the bowl from the pan. Leave the melted mixture to cool to room temperature.
  4. While you wait for the chocolate to cool, put a shelf in the middle of your oven and turn the oven on to 180C/160C fan/gas 4. Using a shallow 20cm square tin, cut out a square of kitchen foil (or non-stick baking parchment) to line the base.
  5. Tip 85g plain flour and 40g cocoa powder into a sieve held over a medium bowl. Tap and shake the sieve so they run through together and push through any lumps.
  6. Chop 50g white chocolate and at least 100g milk chocolate (more eastern egg!) into chunks on a board.
  7. Break 3 large eggs into a large bowl and tip in 275g golden caster sugar. I like to use light brown soft sugar for a more caramel-like quality to the taste plus I think it makes for better chewy edges. With an electric mixer on maximum speed, whisk the eggs and sugar until thick and creamy. This can take up to 8 minutes, depending on how powerful your mixer is. You’ll know it’s ready when the mixture becomes really pale and about double its original volume. Another check is to turn off the mixer, lift out the beaters and wiggle them from side to side. If the mixture that runs off the beaters leaves a trail on the surface of the mixture in the bowl for a second or two, you’re there.
  8. Pour the cooled chocolate mixture over the eggy mousse, then gently fold together with a rubber spatula. Plunge the spatula in at one side, take it underneath and bring it up the opposite side and in again at the middle. Continue going under and over in a figure of eight, moving the bowl round after each folding so you can get at it from all sides, until the two mixtures are one and the colour is a mottled dark brown. The idea is to marry them without knocking out the air, so be as gentle and slow as you like.
  9. Hold the sieve over the bowl of eggy chocolate mixture and resift the cocoa and flour mixture, shaking the sieve from side to side, to cover the top evenly.
  10. Gently fold in this powder using the same figure of eight action as before. The mixture will look dry and dusty at first, and a bit unpromising, but if you keep going very gently and patiently, it will end up looking gungy and fudgy. Stop just before you feel you should, as you don’t want to overdo this mixing.
  11. Finally, stir in the white and milk chocolate chunks until they’re dotted throughout.
  12. Pour the mixture into the prepared tin, scraping every bit out of the bowl with the spatula. Gently ease the mixture into the corners of the tin and paddle the spatula from side to side across the top to level it.
  13. Put in the oven and set your timer for 30 mins. When the buzzer goes, open the oven, pull the shelf out a bit and gently shake the tin. If the brownie wobbles in the middle, it’s not quite done, so slide it back in and bake for another 5 minutes until the top has a shiny, papery crust and the sides are just beginning to come away from the tin. You do want a little bit of wobble…but only a little to ensure the brownie is the right side of gooey and not at all cakey which in my eyes is a totally failed brownie. If happy with the slight wobble then take out of the oven.
  14. Leave the whole thing in the tin until completely cold, then, if you’re using the brownie tin, lift up the protruding rim slightly and slide the uncut brownie out on its base. If you’re using a normal tin, lift out the brownie with the foil (or parchment).
  15. They’ll keep in an airtight container for a good two weeks and in the freezer for up to a month. I like to keep mine in the fridge to help them keep plus the gooey bits will be firmer and fudgier that way straight from the fridge. Although I also like mine popped into the microwave for 30 seconds then topped with a healthy sized glob of clotted cream.
Was this useful?